Method
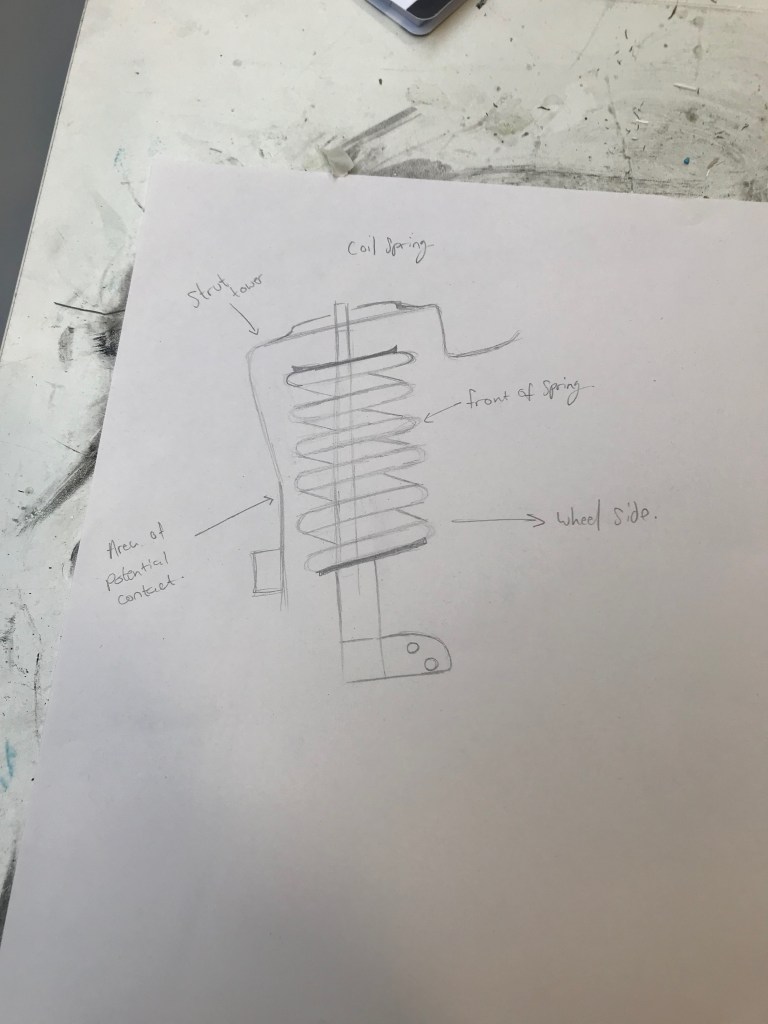
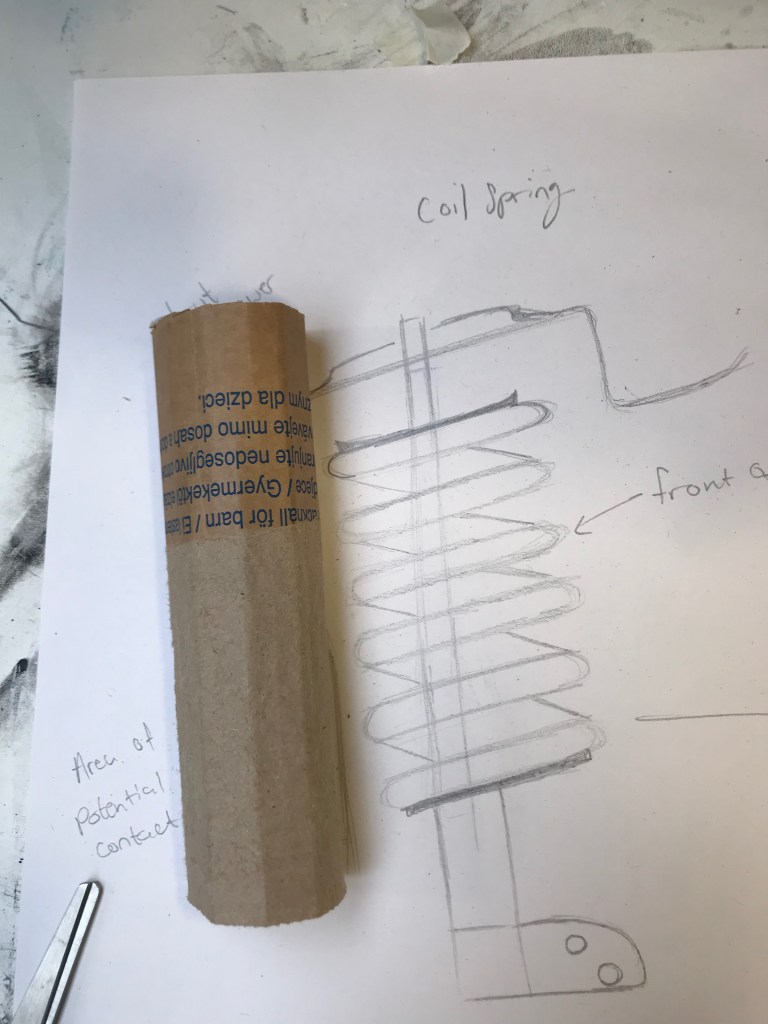
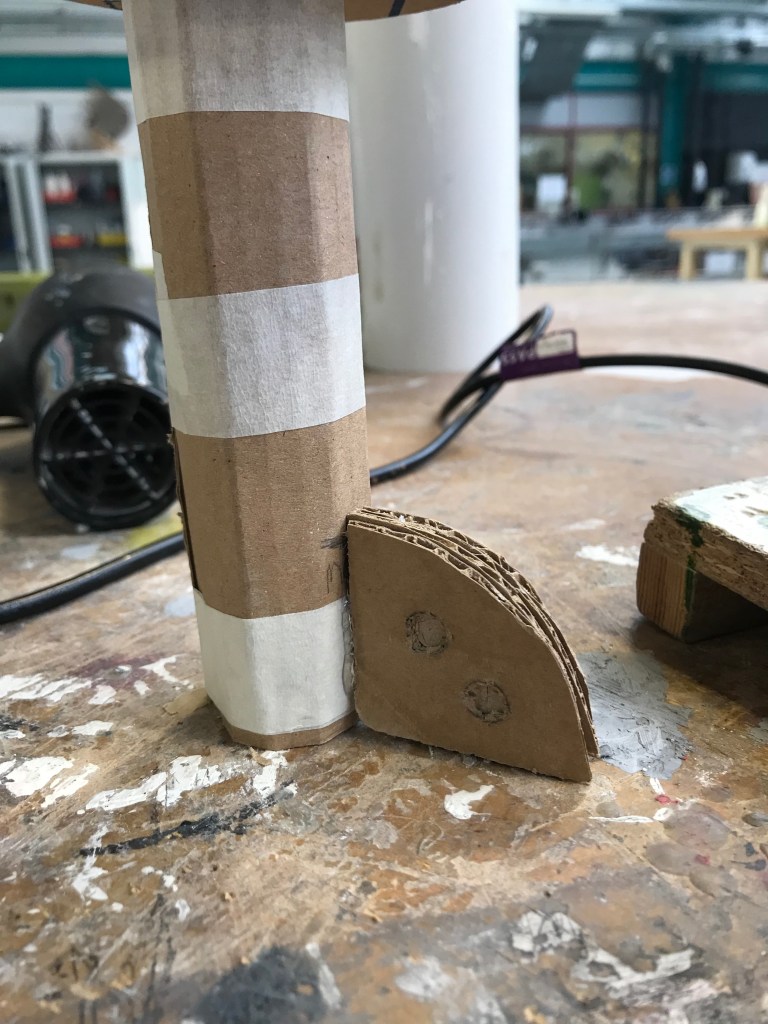
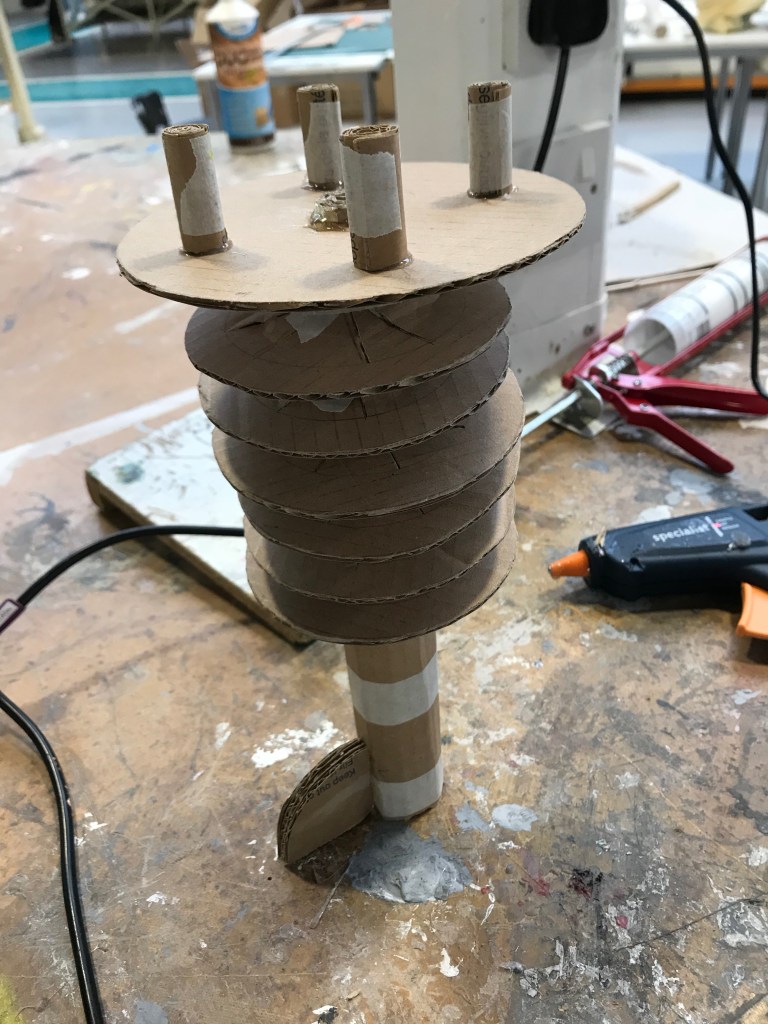
Creating these models was very simple it involved drawing the correct sized shape and then using a ruler and crafting knife to cut them out. When drawing a shape, I had to make sure that my lines where straight so that the edges of the model would meet. If they didn’t it would make it difficult to glue together. I primarily used masking tape when creating the shock absorber as it made it easier to stick the circles that imitated springs to the rod. To make the rod I rolled cardboard and tapped it together. When the shock absorber was stuck together, I added four rolls of cardboard to imitate bolts.
Problems
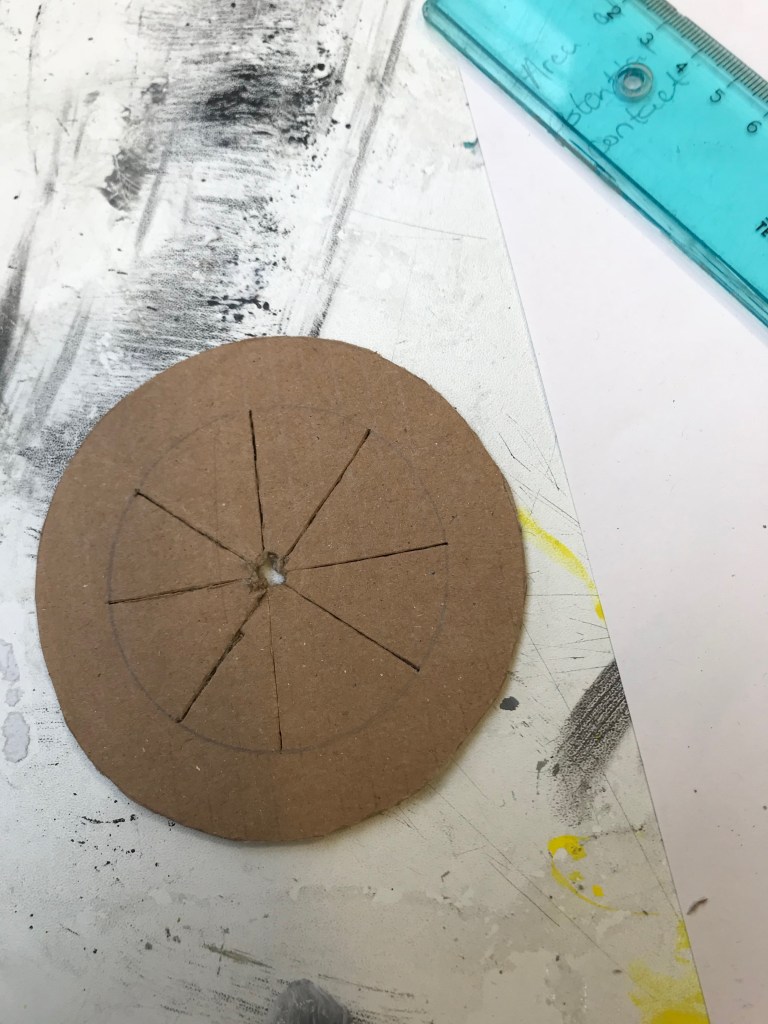
A problem I came across was when fitting the circle that would be the springs to be the rod of the shock absorber, I wasn’t able to get the circles to sit at an angle because a hole wouldn’t allow the circle to move diagonally. To fix this issue I cut lines into the circles which instantly fixed this problem as the cut parts were easier to bend around the rod.
Conclusion
To conclude cardboard is a very useful material as It is strong and flexible. This was demonstrated when I was able to get the circles to bend at an angle so that it’d look like a spring. As well as this the material itself is readily available and is easy to come by. The model was made from gathering material from a cardboard bin in the workshop. The model was somewhat successful because I was able to create exactly what I had designed. However, I had made some errors when measuring some elements which left a gap. A draw back from using this material from what I saw from my outcomes was that It left the edged exposed. This left an untidy finish. This might be fixed by flattened strip of card or paper to hide them.